


A concrete edger shapes the vulnerable outside corner of a fresh slab into a controlled radius before the concrete sets. The right tool can leave a cleaner, more durable edge on a sidewalk, patio, driveway, curb, or step, but only when its profile and timing match the mix and jobsite. This guide covers how to choose an edger, when to use it, and how to correct the defects that show up when the concrete is too wet or too firm.
Shop concrete finishing equipment at Diamond Tool Store for your next pour.
What does a concrete edger do?
A concrete edger rounds and compacts the slab perimeter next to a form. Its curved lip moves coarse aggregate away from the corner while bringing cement paste into the profile. That creates a consistent transition instead of a sharp 90-degree corner, helping exposed edges resist routine chipping and spalling after the forms come off.
Edging is a finishing operation, not a substitute for proper placement, consolidation, screeding, or curing. It cannot repair a slab that has been overwatered, poorly consolidated, or allowed to set past workable condition. It is one controlled step in a larger concrete-finishing sequence.
Which concrete edger should you choose?
Choose a concrete edger by the edge profile, slab access, concrete workability, and amount of perimeter to finish. A hand edger gives close control on short runs and tight forms. A walking edger reduces kneeling on longer runs. Powered edging equipment is a different class of solution for production work and should be selected by machine fit and manufacturer guidance.
Hand edgers for control and short runs
A hand edger is the practical choice when the finisher needs to see the lip, adjust pressure frequently, or work around corners, steps, and penetrations. It is easy to carry between pours and gives direct feedback through the handle. The tradeoff is physical: hand edging requires kneeling or bending and takes longer along a large perimeter.
Walking edgers for long slab perimeters
A walking edger attaches to a long handle so the finisher can work from the slab edge without kneeling. It is useful on sidewalks, driveways, patios, and other pours with extended straight runs. Confirm that the bracket lets you work in the direction the job requires. A reversible or adjustable connection can be valuable when forms, walls, or adjacent work limit access on one side.
Powered equipment for production edging
Some powered tools marketed for edging are designed for hardened concrete or surface grinding rather than fresh-slab finishing. Do not treat an edge grinder as a replacement for a hand or walking concrete edger. Powered equipment belongs in a separate selection decision based on the material condition, tooling, dust control, power source, and operator instructions. Diamond Tool Store's Bartell Edger Trowel Series is an example of the type of equipment a contractor may evaluate when the work calls for a powered edger trowel rather than a simple hand tool. Verify the intended application before ordering.
How do radius and depth affect the edge?
The radius is the most visible part of an edger's profile. A small radius keeps the transition relatively crisp. A larger radius creates more round-over and can be appropriate where an exposed edge will see impact or where a softer profile is part of the finish design. Match the tool to the plans, sample panel, and project requirements instead of choosing by size alone.
- Small radius: Useful when the design calls for a restrained transition and a sharper visual line.
- Medium radius: A common fit for sidewalks, patios, and general exterior flatwork when the project calls for a noticeable but controlled round-over.
- Larger radius: Consider for curbs, steps, pool-deck edges, or other locations where the design and exposure call for more rounding.
- Depth and width: These determine how much material the tool contacts and how easily it follows the form. The tool should sit flat enough to guide the lip without gouging the slab.
What handle and blade features matter?
Blade material, end shape, handle comfort, and bracket design all affect control. A durable, smooth blade is easier to clean and less likely to drag material when it is used correctly. An upturned or rounded end can help reduce gouging at the start and finish of a pass. A comfortable grip matters on repeated work, while a walking tool needs a connection that stays stable without forcing the operator into an awkward angle.
Inspect the tool before the pour. Remove dried concrete, check that the blade is straight, and confirm that the handle or bracket is tight. A bent lip can transfer a defect down the entire edge faster than a worn but straight tool.
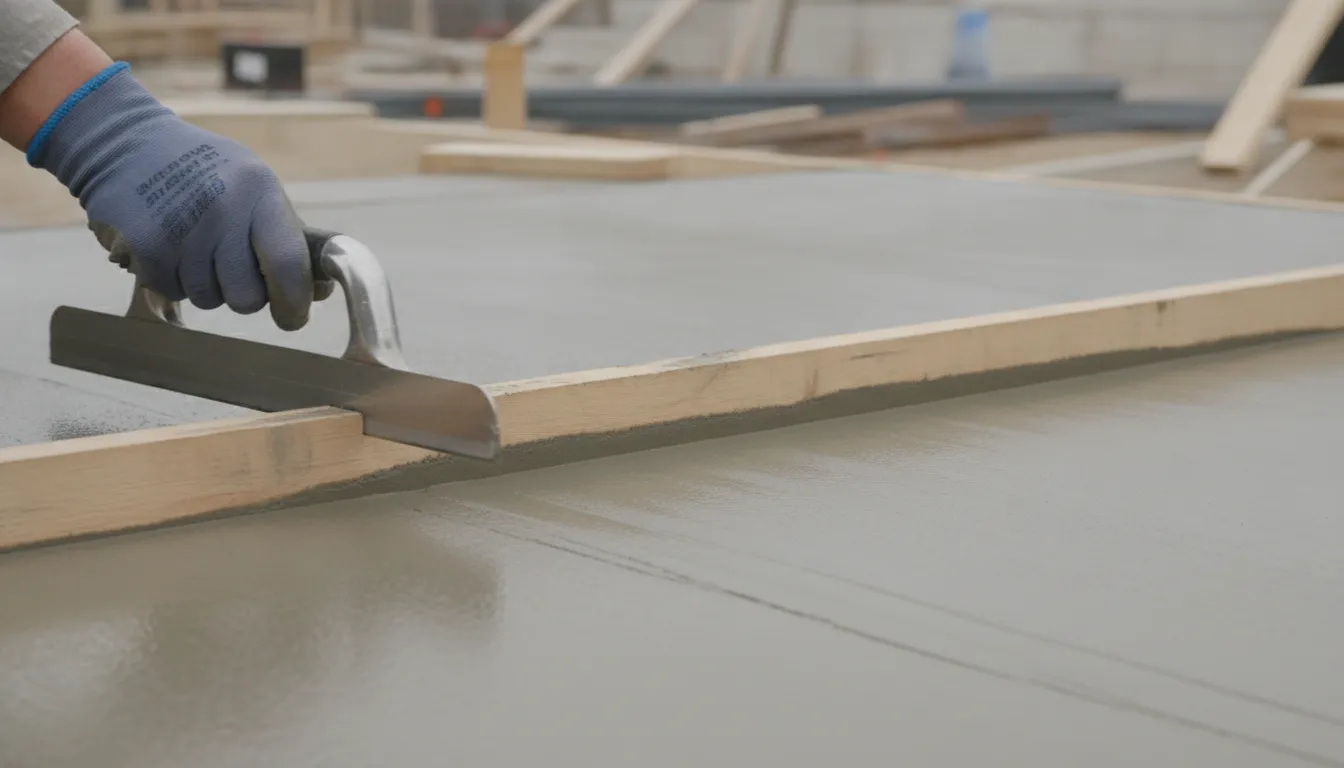
When should you edge fresh concrete?
Edge after the surface bleed water has disappeared and the concrete is firm enough to support a clean profile, but before it becomes too hard to shape. The correct window changes with mix design, temperature, wind, humidity, sun, slab thickness, and how much water remains at the surface. Judge the concrete in front of you rather than following a fixed clock.
- Place and consolidate the concrete according to the project method.
- Screed the slab and complete the appropriate early floating operation.
- Watch the perimeter. Do not force an edger through standing bleed water.
- Test a small, low-visibility section. The concrete should accept the lip without tearing, flooding, or collapsing.
- Make the main edging pass while the surface remains workable, then continue the planned finishing sequence.
- Complete the final light pass only if needed to remove tool marks. Do not keep reworking the edge after it has started to tighten.
Starting too early can trap surface water and pull paste across a weak zone. Starting too late can cause the tool to skate, leave a shallow or broken radius, or force the finisher to apply damaging pressure. A small test pass is safer than committing the full perimeter to the wrong timing.
How do you use a concrete edger step by step?
Use a concrete edger with the lip tight to the form, light pressure, and overlapping strokes. Let the tool's profile do the shaping. A clean pass should form the radius without tearing the surface, dragging coarse aggregate, or leaving a deep stop mark where the tool changes direction.
- Clean the tool. Dried concrete or grit on the blade can scratch the surface and change the profile.
- Start at a form corner or a planned stopping point. Set the tool so its flat body rides the slab and its lip follows the form face.
- Use shallow, controlled pressure. Keep the tool nearly flat. Press only enough to maintain contact and create the intended radius.
- Pull in overlapping strokes. Keep each stroke consistent, and overlap the previous section so the radius does not change between passes.
- Feather the end of each pass. Lift gradually instead of stopping abruptly in the middle of the edge.
- Check the edge from several angles. Look for a continuous radius, a clean line at the form, and a transition that blends into the slab surface.
- Clean the edger during the work. Rinse or wipe off buildup before it hardens, following the tool manufacturer's care instructions.
On a long run, keep the direction and pressure consistent. If two finishers are working the same perimeter, agree on the direction, stopping points, and profile before starting. That prevents a visible change in radius where passes meet.
Compare concrete finishing equipment and jobsite tools at Diamond Tool Store.
What changes for slabs, curbs, steps, and decorative concrete?
The surrounding form and the required appearance determine the best technique. A broad, straight slab edge is straightforward. Curbs, steps, gutters, and tight returns may need a profile made for the geometry rather than a general-purpose edger. Always test the tool on a sample or inconspicuous section when the finish is decorative or highly visible.
- Sidewalks and patios: Prioritize a continuous radius and a smooth transition into the field of the slab.
- Driveways and aprons: Confirm that the specified radius suits vehicle traffic and the project's appearance requirements.
- Steps and curbs: Use a profile that reaches the corner without twisting the tool or gouging the adjoining face.
- Colored or stamped concrete: Coordinate edging with the decorative process. A test area helps confirm how the edge will look after curing and release.
- Interior floors: Edging may not be required where the slab perimeter will be concealed or finished differently. Follow the plans and the intended floor system.
What causes a concrete edge to tear, chatter, or crumble?
Most edge defects come from a mismatch between the tool, the concrete's workability, and the pressure used. Use the symptom as a timing and technique clue before changing tools.
| What you see | Likely cause | What to try |
|---|---|---|
| Surface tears or rolls in front of the lip | Concrete is too wet, the tool is dirty, or pressure is excessive | Wait for the surface to firm, clean the blade, and reduce pressure on the test pass |
| Edger skates without forming a profile | Concrete is too firm or the lip is not contacting the form correctly | Confirm tool position and workability; do not add water to make the pass easier |
| Deep gouges at the start or stop | Tool is being set down or lifted abruptly, or an end is catching | Feather the pass and check for a bent or damaged blade |
| Uneven radius along one run | Pressure, angle, or overlap changed between passes | Use a consistent stroke and test the selected profile before continuing |
| Crumbly edge after forms are removed | Insufficient consolidation, poor timing, weak surface condition, or premature form removal | Review the complete placement and curing process; edging alone cannot repair a weak edge |
Do not correct a difficult pass by sprinkling water on the surface. Added water changes the surface condition and can leave a weaker, dustier finish. If the window has passed, accept a less aggressive profile rather than forcing a tool through hardening concrete.
What safety practices matter when edging concrete?
Concrete finishing combines wet cement, awkward footing, hand tools, and active jobsites. Wear work gloves, eye protection, and footwear with secure traction. Protect skin from prolonged contact with cement paste, keep tools and handles free of buildup, and use stable footing beside the form. When kneeling, avoid placing weight on unstable formwork or exposed reinforcement. For walking or powered equipment, keep the handle path clear and follow the equipment instructions for setup, movement, and cleaning.
Coordinate with the crew before entering the perimeter. A finisher should know where hoses, cords, reinforcement, screeds, and other workers are located. If a powered tool is intended for hardened concrete rather than fresh finishing, use the appropriate concrete grinding equipment, dust controls, and personal protective equipment for that separate operation.
How can you choose the right concrete edger on the jobsite?
Start with the edge the project requires, then match the tool to access and production pace. The best concrete edger is not automatically the largest, heaviest, or most expensive option. It is the tool that holds the specified profile, follows the form without gouging, and lets the finisher control pressure through the actual workability window.
- Confirm the required radius, depth, and edge appearance from the plans or sample.
- Choose a hand tool for close control and short or complicated runs.
- Choose a walking tool when a long perimeter makes repeated kneeling inefficient.
- Verify the blade is straight, clean, and appropriate for the finish.
- Check handle comfort and bracket direction before the pour starts.
- Test timing and pressure on a small section before committing the full edge.
- Keep concrete edging separate from hardened-concrete grinding or polishing decisions.
Find concrete finishing equipment for controlled slab-edge work at Diamond Tool Store.
Frequently Asked Questions
What is the purpose of a concrete edger?
A concrete edger rounds and compacts the outside corner of a fresh slab next to the form. The shaped edge has a cleaner appearance and can be more resistant to routine chipping than a sharp square corner, provided the concrete was properly placed, consolidated, finished, and cured.
When should you use a concrete edger?
Use the edger after surface bleed water has disappeared and the concrete is firm but still workable. The exact window depends on weather, mix, slab conditions, and finishing progress. Make a small test pass instead of relying on a fixed number of minutes.
What radius should a concrete edger have?
The required radius depends on the plans, edge exposure, and appearance the project calls for. Smaller profiles create a restrained transition, while larger profiles create more round-over for selected curbs, steps, pool decks, and exterior edges. Match the tool to the specified profile and test it first.
Why is my concrete edger tearing the surface?
Tearing usually means the concrete is too wet, the edger is dirty, or too much pressure is being applied. Let the surface firm up, remove buildup from the blade, confirm the tool is riding the form correctly, and test with lighter pressure. Do not add water to make edging easier.