

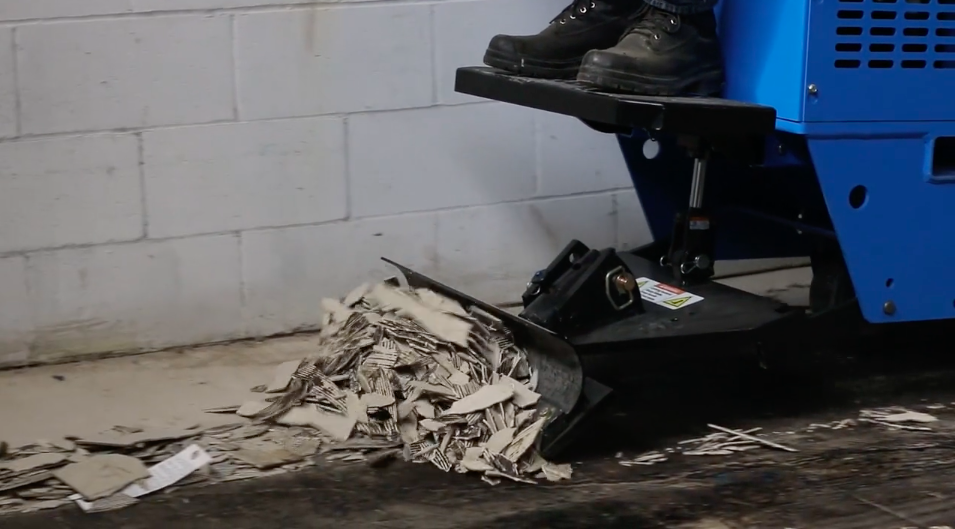
This video discusses the various types of tooling available for our Terminator Ride-On Floor Scraper line, how to attach them, and best usage.
TERMINATOR TOOLING
The Terminator is designed with many different tooling options. These options help you to remove a wide variety of flooring.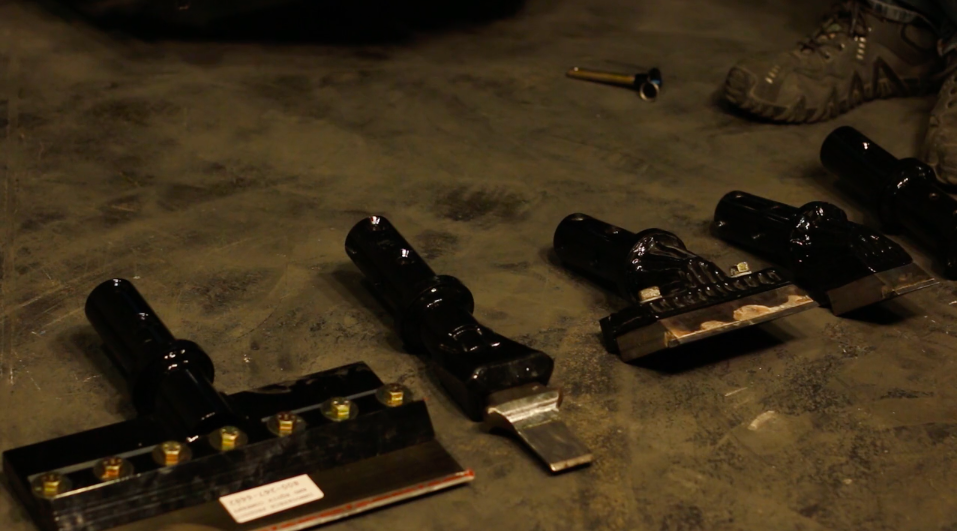
Some common flooring the tooling can remove are:
- VCT
- Linoleum
- Carpet
- Ceramic tile
- Porcelain tile
- Hardwood
- Rubber membranes
- Mortar
- And many other types
The Terminator can take two types of blade holders; The 26 inch holder and the 36 inch holder. (00:33)
The 26 inch holder can accept multiple blade sizes up to 26 inches in length.
Blades are commonly used for removing carpet, VCT, linoleum, rubber membrane, mortar, adhesives, and many other materials.
THERE ARE 3 MAIN TYPES OF BLADES: (00:55)
- Notched
- No-notch
- Self-dicing
 Notched blades are used to increase blade rigidity.
 No-notch blades are used when you desire more flexibility in the blade while scraping.
 Self-dicing blades are used for removing carpet; and the wing tip edges of the blade are used to cut the material into strips.
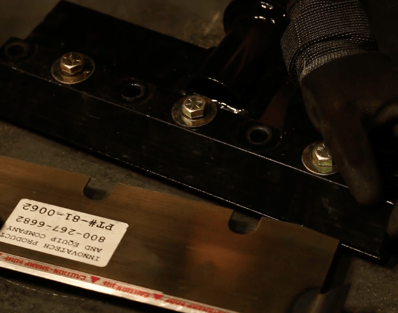
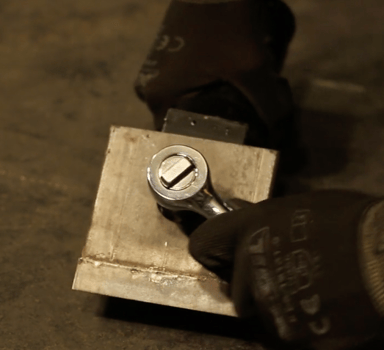
To insert the blades into the desired blade holder, loosen the bolts on the holder to create enough of a gap from the top of the holder to the bottom of the holder.(01:19)
When using no-notch blades, be sure to use all the bolts in the holder, including the medal spacer. This keeps the no-notch blades secure when in use.
When enough gap is created, slide the blade in as far as it will go and tighten the bolts.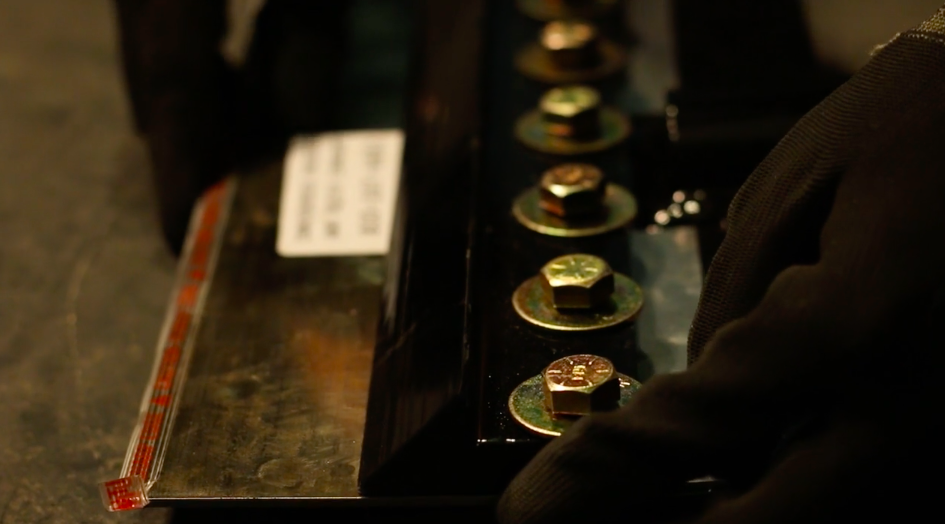
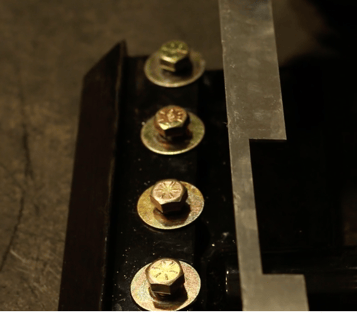
To insert notched blades, first remove the metal spacer from the holder. Remove the necessary bolts from the holder, in order to slide the blade in. When inserting the notched blades, make sure the notches go securely around the bolts. (01:44)
The process for inserting various blades in the 26 inch holder, is the same as the 13 inch holder. To remove the metal spacer from the 26 in holder, loosen the bolts and remove the scoop. Then you can access the spacer to remove it. (02:04)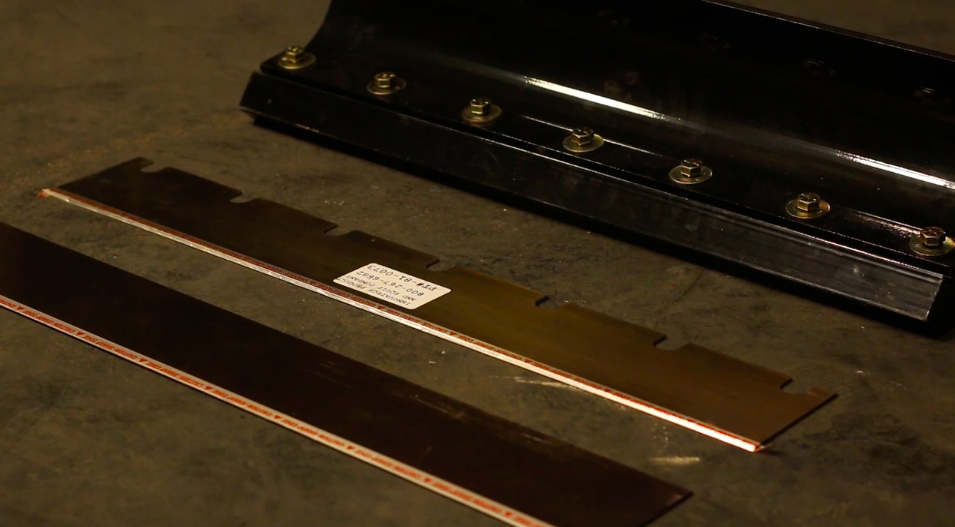
TILE TOOTH HOLDER AND TOOLS
The Tile Tooth holder is used to hold the ceramic tile tooth, and the milled tile tooth. These tools are used to remove various types of tile, and other difficult to remove materials.(2:26)
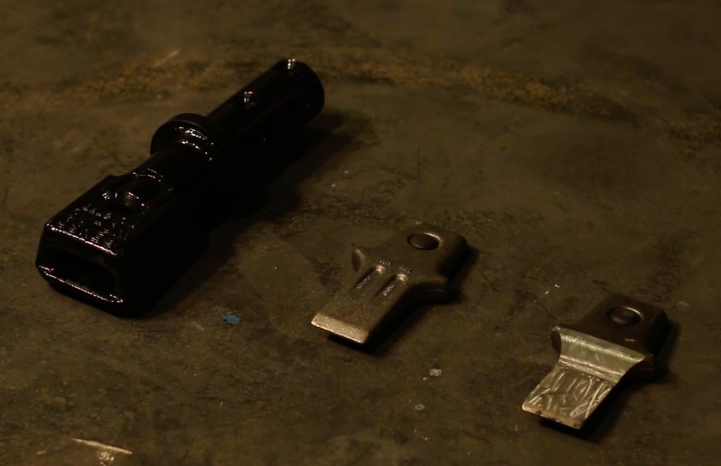
To attach the tile tooth to the holder, take the end of the tile tooth with the rubber button and insert it into the tooling holder slot. Place the tooling on its end, and hit the end of the holder firmly with a rubber mallet to secure it.
To remove the tile tooth from the holder, simply tap the sides of the tooling with a hammer to loosen it until you can remove it easily.(2:36)
SABER CLAW
The Saber(Sabre) Claw tooling is used to remove similar material as the tile teeth. They are commonly used when you require a more aggressive approach. To attach the 2 and 4 inch saber claw tooling to the holder, simply remove the bolt from the holder, align the hole in the tooling with the hole in the holder, then reinsert the bolt and tighten.
To attach the 6 in saber claw, remove the bolts, align the tooling, and reinsert the bolts and tighten. (03:02)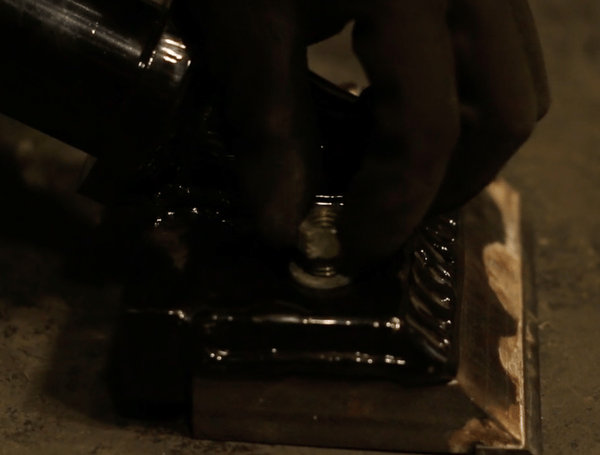
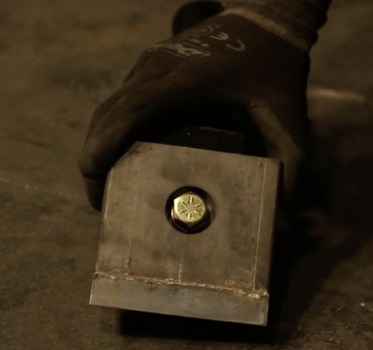
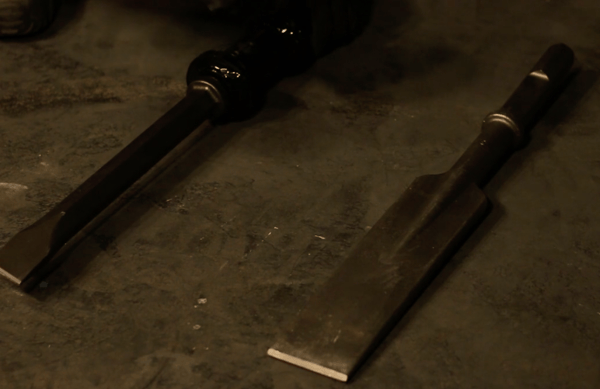
To remove hardwood, its recommended to use the hex shank tooling. To attach the shank or chisel to the holder, loosen the set screws on the holder with an allen key; when loose, slide the tooling in and retighten the set screws. (04:04)
We hope this video on the Terminator Tooling has been helpful. If you have anymore questions, contact us.